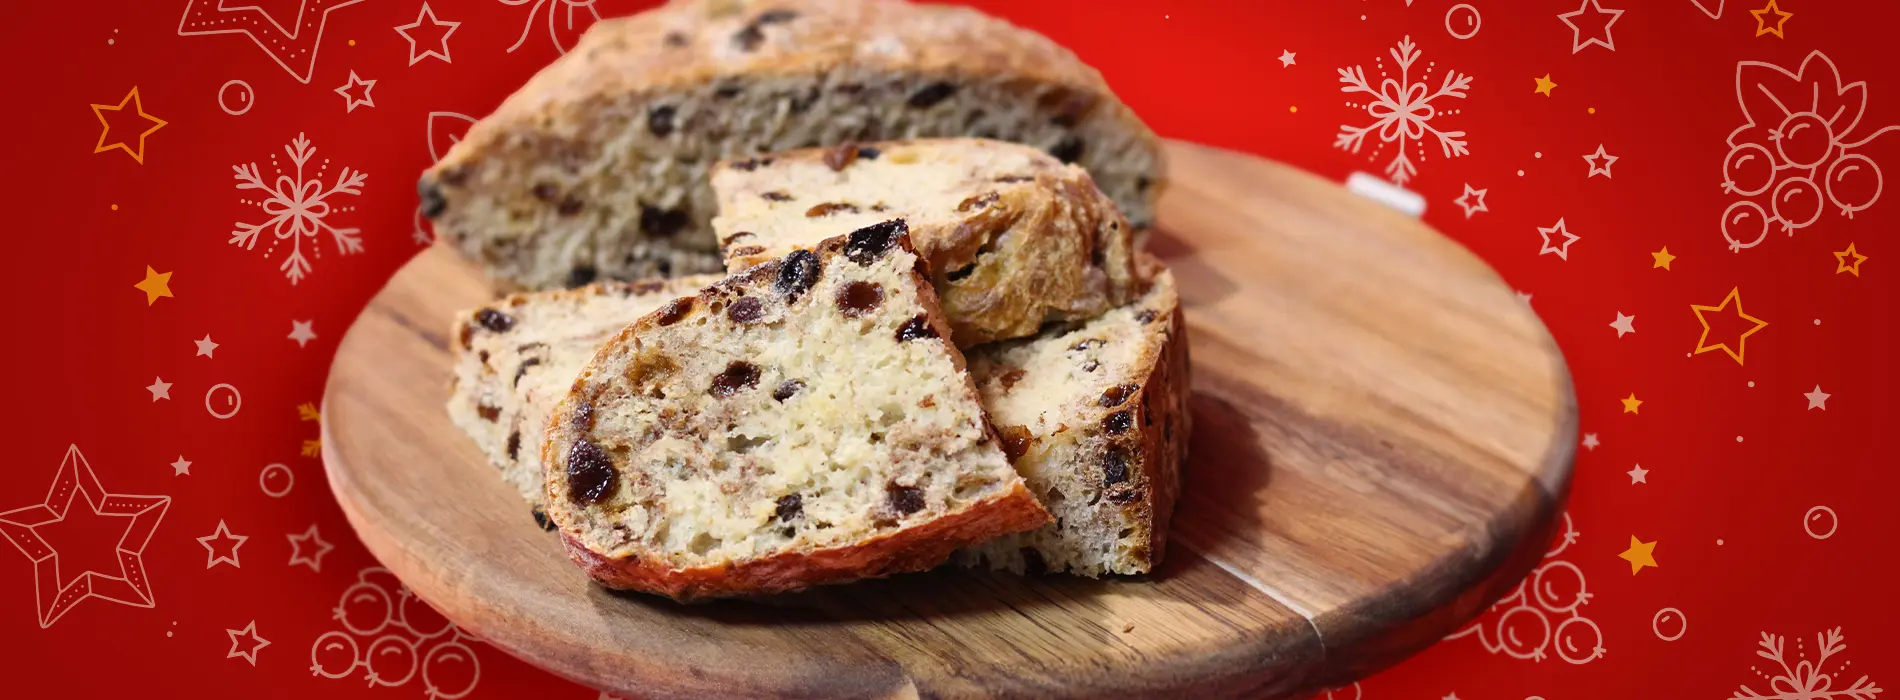
Place the flour, salt, yeast, brown sugar, and raisins in a large mixing bowl.
Combine water and milk and heat briefly until lukewarm. You can either do this in a small sauce pan over low heat or in a heatproof glass measuring cup in the microwave for a few seconds. It should be lukewarm to the touch but not hot.
Add lukewarm milk mixture to the flour and stir with a wooden spoon or spatula until it forms a shaggy dough. The dough will be very rough, not at all smooth. My girls love this part!
Sprinkle dough with 1 tablespoon of cinnamon and use a spatula to roughly "cut" the cinnamon through the dough. You want it distributed but not completely mixed in.
Cover the bowl tightly with plastic wrap and let it rise on the counter for 8 hours. Make sure you place the bowl in a warm place, away from any drafty windows or direct sun. The dough should doubled in size and become bubbly after 8 hours. I like to put my in the oven where I know it will rise undisturbed. My girls take this time to play with leftover dough!
Once the dough has proofed, turn it out onto a lightly floured piece of parchment paper. Quickly turn the dough over a few times, shaping it into a round loaf. Cover with a kitchen towel and let rise for 1 hour more.
PRE-HEAT OVEN! 30 minutes before the dough is finished proofing, preheat the oven to 450 degrees and place a Dutch Oven (with lid) inside to heat on the center rack.
Using the parchment paper to lift, carefully transfer the dough (still on the paper) to the preheated Dutch oven. If desired, score the top of the dough with a sharp knife so that the bread can expand while baking. This isn't necessary but it makes a loaf pretty!
Use oven mitts to cover and bake for 30 minutes. Careful, the lid is very hot!
Remove the lid and bake an additional 15 minutes more to brown and crisp up the crust. If the loaf is looking too brown you can keep it covered for part of this time.
Carefully remove the bread to a cooking rack and allow to cool for at least 15 minutes but up to 30 minutes before slicing.
Plan Ahead – calculate the entire time it will take you to proof and when you want to bake and eat this bread before you begin!
It will take an entire 9 hours to proof (total) plus an additional 45 minutes to bake. It seems like a lot, but this truly is the easiest bread to make. I promise, it's worth the wait.
Warm Spot – find a warm spot to proof your dough. You don’t want a cold drafty area or direct sun!
Cover tightly – When proofing you want to cover your bowl tightly with plastic wrap so that no air can get in and dry out your dough.
For the second proof, you will want to cover completely with a light weight dish towel. Don’t use anything that will deposit fuzz however. I like cotton or linen for this.
 Show Nutrition Facts
*Percent Daily Values are based on a 2,000 calorie diet. Your daily values may be higher or lower depending on your calorie needs

 Hide Nutrition Facts